
Guide for Installing Your Domestic Zip Line Kit
Setting up your own domestic zip line might sound tricky, but it’s easier than you think—and loads of fun! This step-by-step guide takes you through every stage of your domestic zip line installation, with clear instructions and top safety tips. Get ready to turn your garden into the ultimate backyard adventure spot where the whole family can share unforgettable moments. Ready to get started?
Preparing Your Zip Line Site
Before diving in, let’s make sure your site is ready for action. Picking the right spot and having the right tools are key to a smooth installation. Let’s get started.
Choosing the Perfect Spot
Finding the right place for your zip line is the first step. You’ll want a spot with enough space for the line to run smoothly. Look for two sturdy trees or poles about 20 to 28 metres apart.
Flat Ground is Best: Ensure the area below is free from rocks and debris.
Safe Landing Zone: Make sure there’s a soft area for landing, like grass or a safety mat.
Clear Pathway: The zip line path should be clear of branches and obstacles.
Imagine a summer afternoon, the sun shining and kids laughing as they zip by. That’s what we’re aiming for! But first, let’s talk tools.
Gathering the Right Tools
Having the right tools on hand makes everything easier. Gather these essentials before you start:
Measuring Tape: To measure the distance between your trees/ anchors.
Instruction Booklet: for a comprehensive guide on installation.
Wrench & Pliers: For tightening bolts and nuts.
Ladder: For reaching those high anchor points.
Cable Pulling kit: Not always necessary but definitely helpful.
If you’re missing any of these, a quick trip to your local hardware store will sort you out. Now, with everything ready, it’s time to bring your zip line to life.
Installing the Zip Line Kit
With your site prepared and tools in hand, you’re ready to install the zip line kit. This is where the real fun begins, turning your backyard into an adventure zone.
Setting Up the Anchor Points
Anchor points are the backbone of your zip line. Here’s how to set them up:
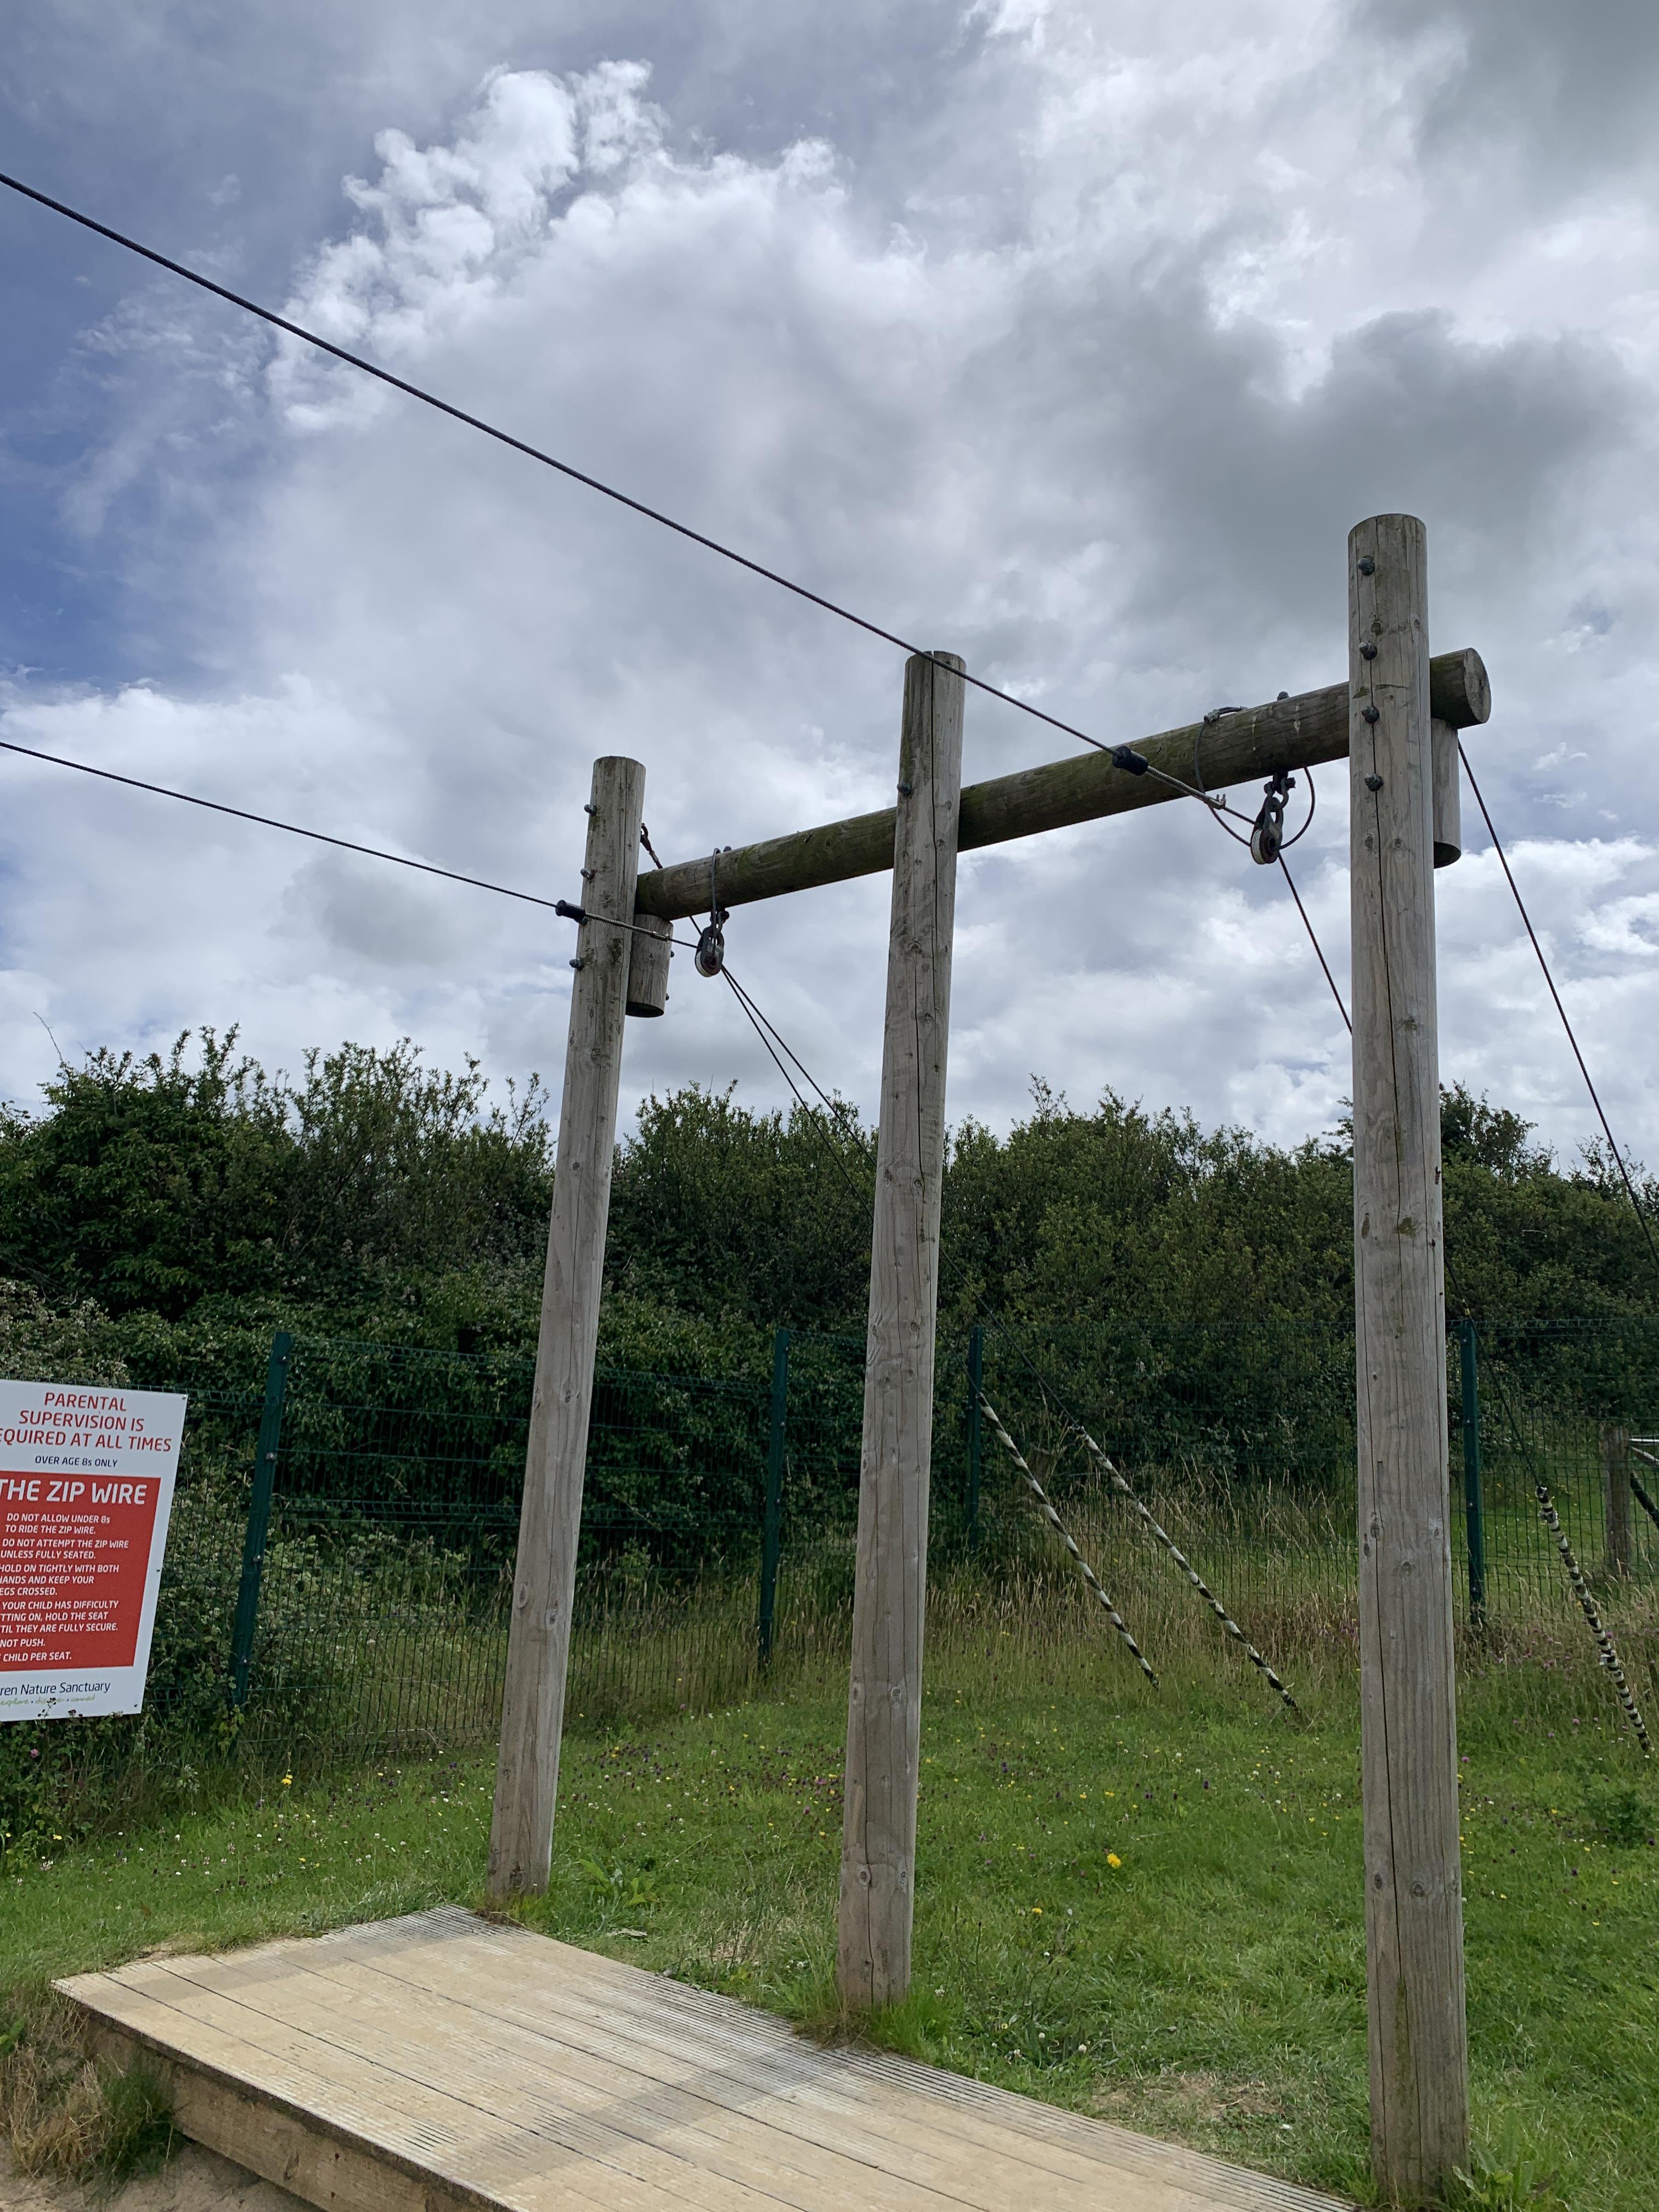
Strong and Secure: Choose healthy, sturdy trees or install professional poles. This ensures the line can hold the weight safely.
Correct Height: The starting point should be higher than the ending point to allow gravity to do its job.
Firm Fixation: Be sure to secure the anchors tightly.
This might feel a bit technical, but remember, safety is the priority. Once anchors are secure, you’re halfway there!
Attaching the Cable
With anchors in place, it’s time to string the cable. This is where your zip line takes shape.
Install the Cable: Carefully pull the cable along your chosen path.
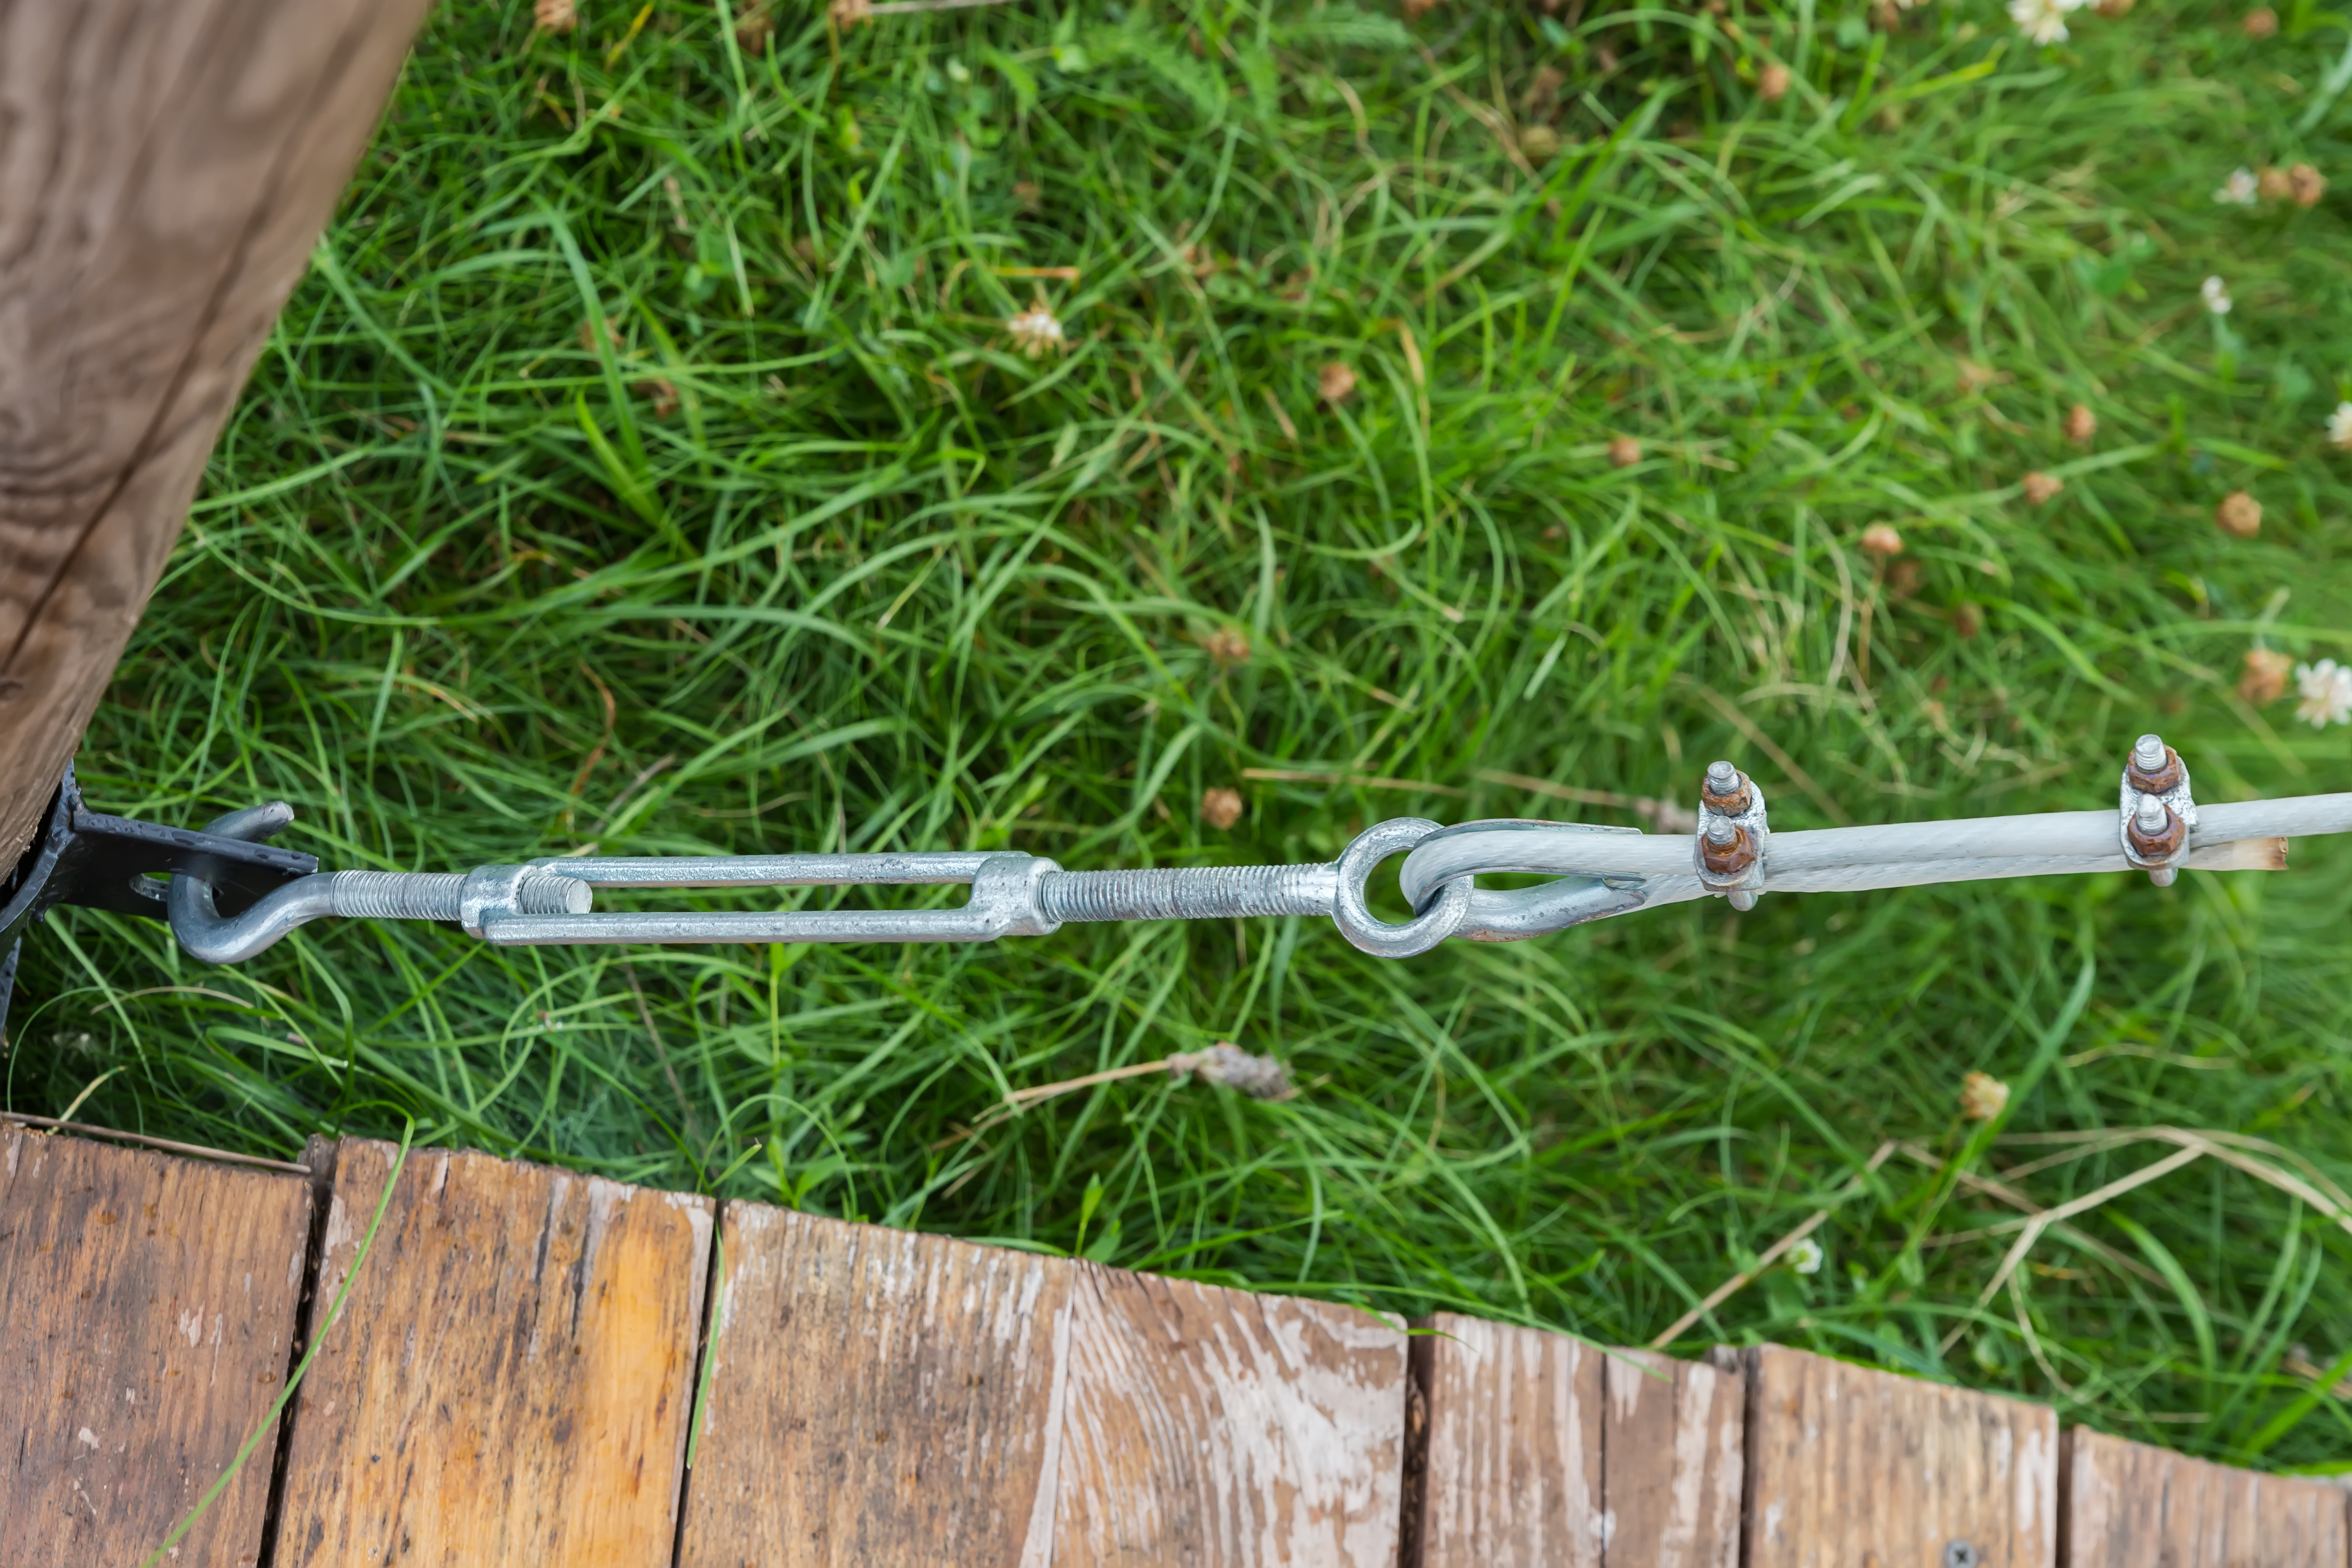
Secure the Tension: Use a turnbuckle to adjust the tension until it’s tight and secure.
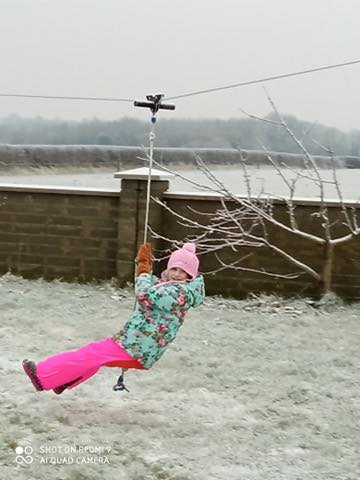
Install the Trolley: This is the moving part that makes zip lining possible.
Once the cable is up, take a step back and admire your handiwork. You’re almost ready for the first ride!
Ensuring Zip Line Safety
Now that your zip line is set up, let’s make sure it’s safe for everyone to enjoy. Testing and safety tips will ensure peace of mind for you and fun for the family.
Testing and Adjusting
Before anyone takes a ride, testing is crucial. Here’s how:
Trial Run: Send a weighted bag (approx 50kg) down the line to ensure it holds and moves smoothly.
Adjust Tension: If the ride is too slow or fast, adjust the cable tension accordingly.
Check the Brakes: Ensure the braking system is operational.
If everything checks out, you’re ready for the next step. Safety first, fun second!
Safety Tips for Kids and Adults
Safety is key to a fun zip-lining experience. Here are some tips to keep everyone secure:
Safe Use: Use the zipline only as intended, 1 rider at a time.
Supervision Required: Always have an adult present when kids are zip-lining.
Weight Limits: Stick to recommended weight limits to avoid overloading the line.
With these tips in mind, your zip line is not just fun but also safe. The longer you wait, the more fun you’ll miss. So gear up, and let’s make memories!
With your zip line ready, you’re set to transform your backyard into a hub of fun and adventure. Now, gather your family and enjoy the thrill of zipping through the air right at home!
Shop online www.ziplines.ie